Transmission Shafts
SAFETY FIRST: Protective gloves and eyewear are recommended at this point.
Disassembly
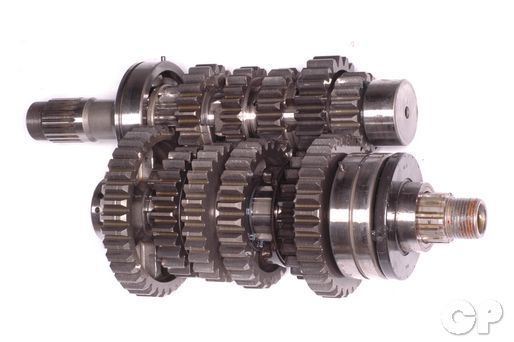
When disassembling the transmission keep track of the order and orientation of the parts as they come apart. Discard old snap rings. Gears are referred to as the letter of the shaft they ride on and the gear number.
Mainshaft
The mainshaft is the shaft the clutch rides on. Check for proper function of the gears and bearings. If the gears do not spin or slide smoothly inspect for damage as you disassemble the shaft.
Remove the mainshaft end bearing.


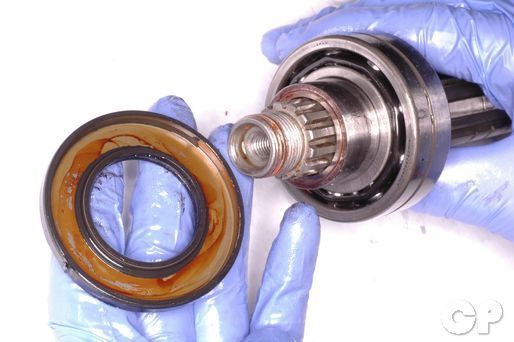
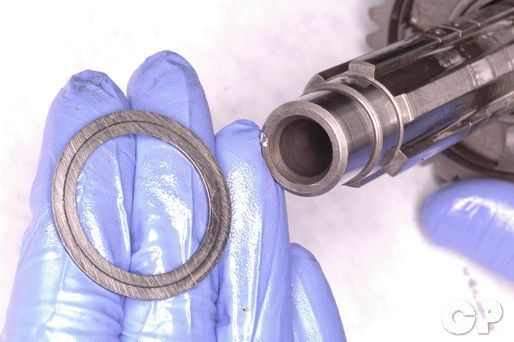
Carefully pry the oil seal off the end of the mainshaft.


Spread the snap ring behind the M2 gear and move it back on the shaft. Slide the M2 and M6 gears back to get to the circlip.


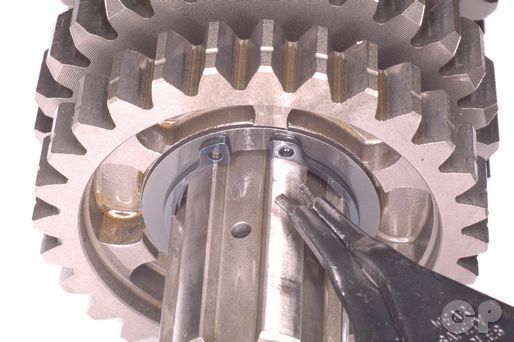
Remove the circlip with a pick or a small flat blade screwdriver.
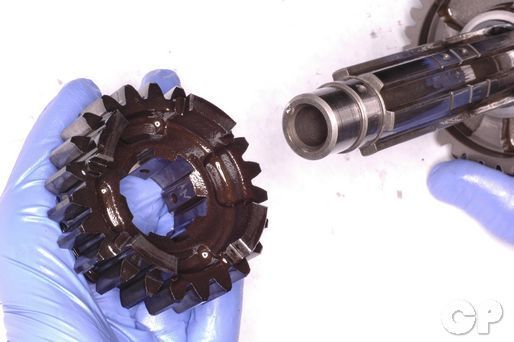
Slide off the M6 gear.


Slide off the M2 gear and the spline washers.


Remove the snap ring with snap ring pliers.
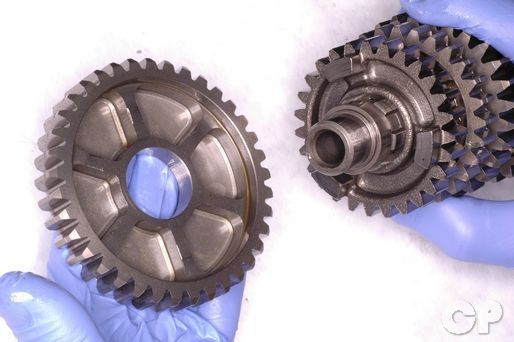
Remove the M3/4 combo gear from the mainshaft.


Remove the snap ring with snap ring pliers.
Remove the M5 gear and slide off the M5 gear bushing.
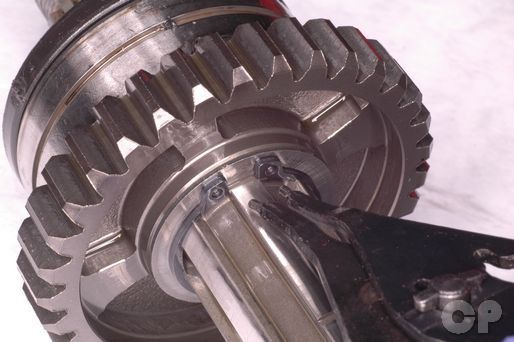
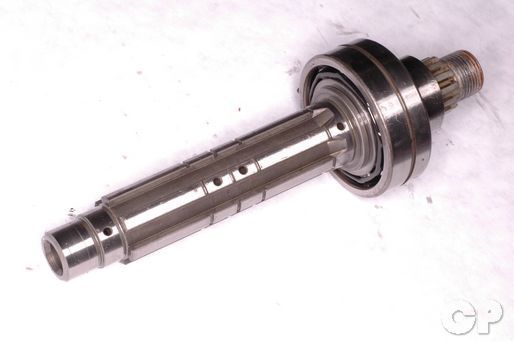
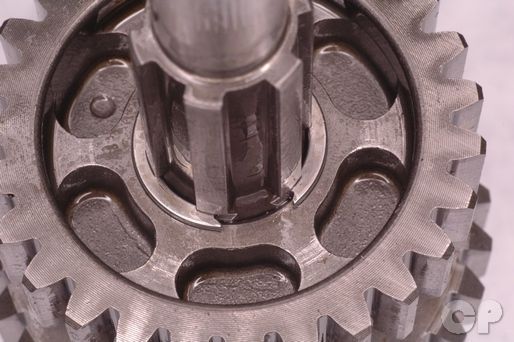
Inspect the mainshaft for wear and damage. Turn the bearings with a finger. The bearing should turn smoothly without noise or roughness. Replace the bearing as needed.
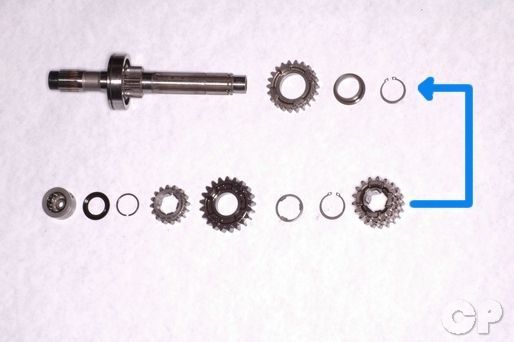
Layout the parts in the order and orientation they were removed. Replace the old snap rings with new ones.
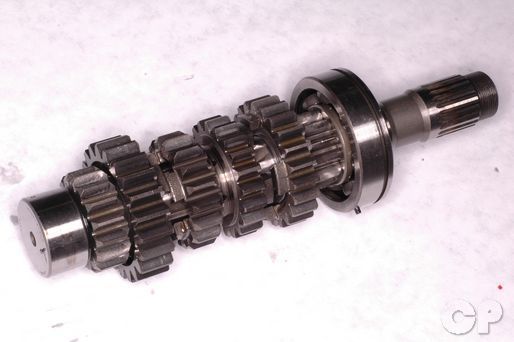
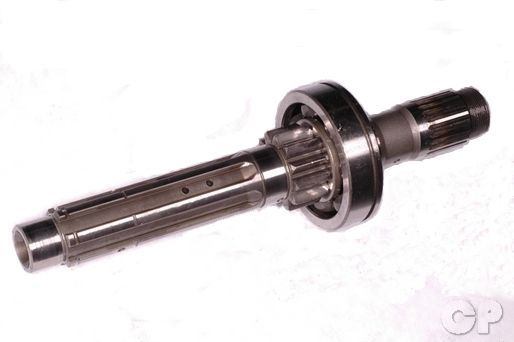
Countershaft
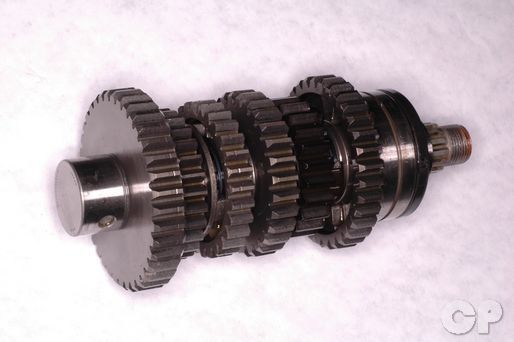
The countershaft is the shaft that drives the countershaft sprocket. Check for proper function of the gears and bearings. If the gears to not spin or slide smoothly inspect for damage as you disassemble the shaft.


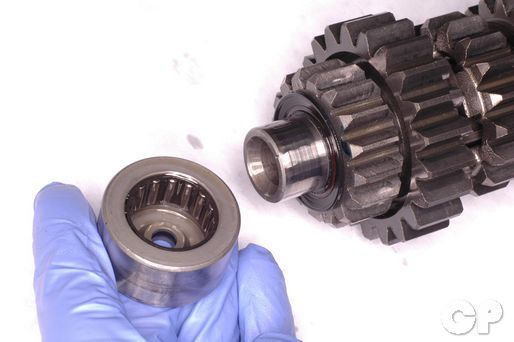
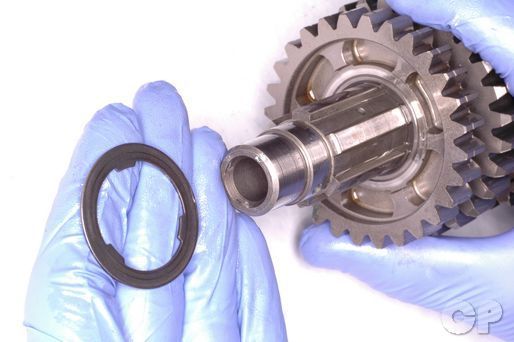
Remove the bearing and washer from the end of the countershaft.
Slide the C1 gear off of the countershaft.


Slide the C1 gear bushing and washer off of the countershaft.

Remove the C5 gear.


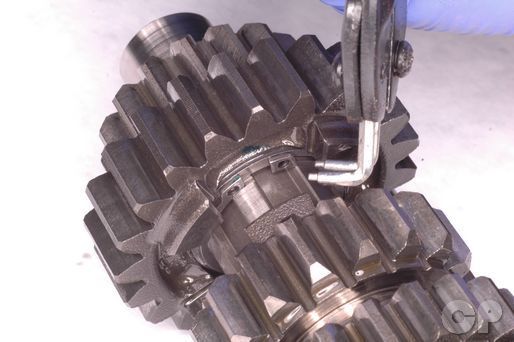
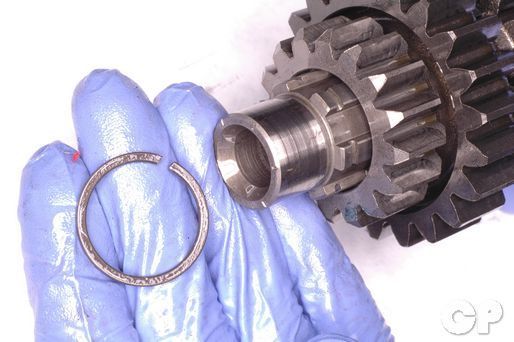
Remove the snap ring with snap ring pliers. Slide off the spline washer.


Slide off the C4 gear and C4 gear bushing.


Remove the two lock washers.

Slide off the C3 gear.


Slide off the C3 gear bushing and the spline washer.


Remove the snap ring with snap ring pliers.
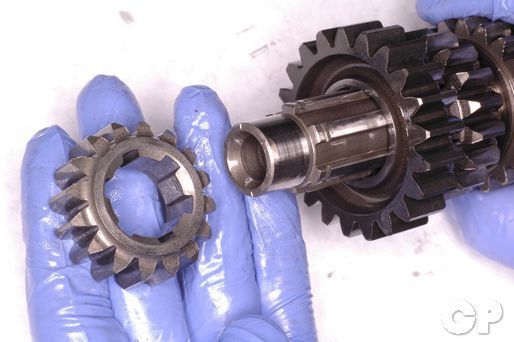
Slide off the C6 gear.


Remove the snap ring with snap ring pliers and slide off the washer.


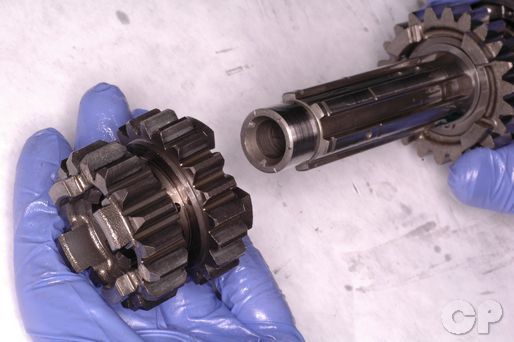
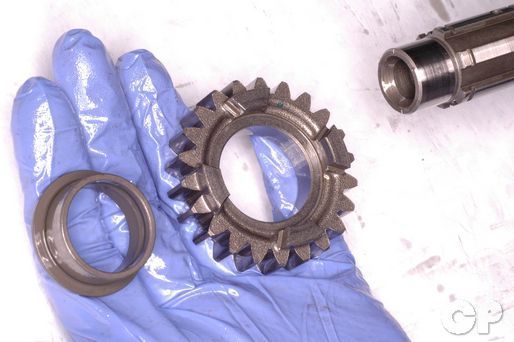
Slide off the C2 gear and C2 gear bushing.
Slide off the Oil seal. Inspect the oil seal for damage and deterioration. Replace the seal as needed.
Inspect the countershaft for wear and damage. The bearing should turn smoothly without noise or roughness. Replace the bearing as needed.

Layout the parts in the order and orientation they were removed. Replace the old snap rings with new ones.
Bearing Replacement
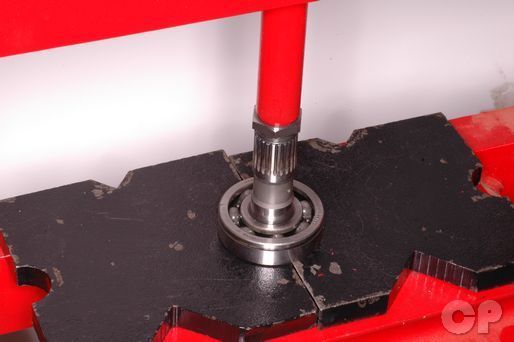
Place a nut on the end of the mainshaft to protect the threads. Press the shaft out of the bearing. Do not allow the shaft to crash to the floor.
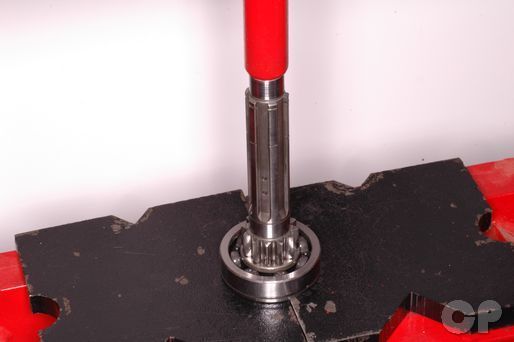
Press the new bearing onto the shaft.
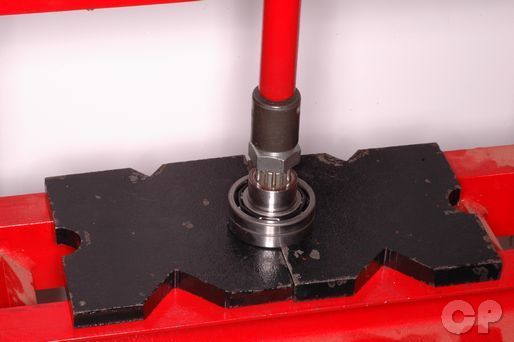
Thread a nut onto the countershaft to protect the threads. Press the shaft out of the bearing. Do not allow the shaft to crash to the floor.

Press the new bearing onto the shaft.
Assembly
Use new snap rings and circlips when assembling the transmission shaft components. Install snap rings so their ends are fully seated in the splines. Also, the sharp edges of washers and snap rings should face the same direction of any thrust load.
The proper technique to install a snap ring is to spread it the minimum amount necessary and slide it down the shaft and into its groove. Do not force the snap ring straight onto the shaft from the side.


If a bushing has an oil hole and the shaft also has an oil hole where the bushing rides, install the bushing so that the oil holes line up.
Countershaft


Apply mixture of fresh engine oil and moly paste (1 to 1 ratio) to all the areas of the shaft where a gear or bushing rides or slides and the outside of all bushings.
Suzuki Moly Paste: 99000-25140
Coat lips of the oil seal in grease and install it onto the bearing.
Suzuki Super Grease "A": 99000-25030
Slide the C2 gear bushing and gear onto the countershaft. The flat side of the C2 gear should face towards the bearing.
Slide on the washer.

Install the snap ring into the groove.
Slide on the C6 gear so that the side with four dogs goes on first.
Install the snap ring into the groove.
Slide the spline washer and C3 gear bushing onto the shaft.
Slide the C3 gear onto its bushing so that its slots face the C6 gear.
Install the lock washers.
Slide the C4 gear bushing and C4 gear onto the shaft.
Slide on the spline washer.

Install the snap ring into the groove with snap ring pliers.

Slide the C5 gear onto the shaft so that the shift fork groove goes on first. Place the washer on the countershaft.

Place the C1 bushing and C1 gear on the shaft.
Install the washer and bearing onto the end of the countershaft.
The countershaft is the shaft that drives the countershaft sprocket. Check for proper function of the gears and bearings.
Mainshaft


Apply mixture of fresh engine oil and moly paste (1 to 1 ratio) to all the areas of the shaft where a gear or bushing rides or slides and the outside of all bushings.
Slide on the M5 bushing and gear.
Install the snap ring into its groove.
Install the M3/4 gears onto the mainshaft. The larger diameter M4 gear should go on first.
Install the snap ring past its groove with snap ring pliers. Wait to move the snap ring into its groove until the end circlip has been installed.
Slide the spline washer and M2 gear onto the shaft. The dogs on the gear should face the M3 gear.
Install the M6 gear onto the shaft as shown.
Fit a new circlip into the groove on the end of the shaft.

Move the M2 and M6 gears up and move the snap ring into the groove behind the M2 gear.

Coat the new oil seal in Suzuki "A" grease. Install a new oil seal onto the end of the mainshaft. The outer edge of the conical oil seal should face away from the M6 gear. Lubricate the bearing with fresh engine oil and place it on the end of the shaft.
Suzuki Super Grease "A": 99000-25030
Check to be sure the gears have been installed in the correct order and orientation. Also, make sure they will slide, spin, and engage correctly.
To install the transmission see the Transmission topic.
Copyright 2025 - Cyclepedia Press LLC

Note: If you are viewing this document offline be sure to visit the latest version online at http://www.cyclepedia.com before attempting any repairs. Updates are made without notice.